RPICT3T1 RLY2: Difference between revisions
Jump to navigation
Jump to search
No edit summary |
No edit summary |
||
| Line 4: | Line 4: | ||
Refer to the [[RPICT3T1]] for full documentation covering the AC reading side. | Refer to the [[RPICT3T1]] for full documentation covering the AC reading side. | ||
[[File:IMG_0546_small.png | 400px | right]] | |||
==Overview== | ==Overview== | ||
| Line 18: | Line 20: | ||
[[File:IMG_0547_small.png | 400px | right]] | [[File:IMG_0547_small.png | 400px | right]] | ||
[[File:IMG_0548_small.png | 400px | right]] | [[File:IMG_0548_small.png | 400px | right]] | ||
[[File:IMG_0549_small.png | 400px | right]] | [[File:IMG_0549_small.png | 400px | right]] | ||
Revision as of 22:28, 12 January 2021
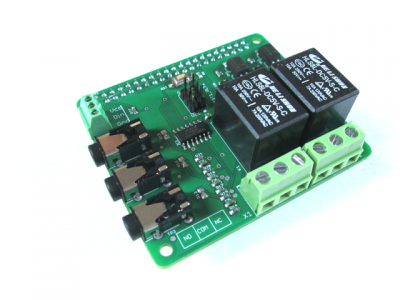
The RPIZ_CT3T1 is the same unit as the RPICT3T1 with 2 relays added.
Refer to the RPICT3T1 for full documentation covering the AC reading side.

Overview
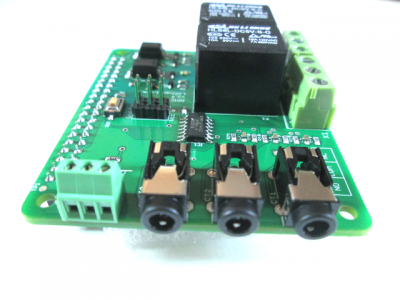
- 3 AC current input port
- 1 Temperature DS18B20 port
- 2 Relays 250V/10A
Relay Control
The 2 relays are connected to GPIO5 and GPIO6 on the raspberrypi.
These can be easily controlled with the RPi.GPIO module from python.


