RPICT7V1 v2.0: Difference between revisions
Jump to navigation
Jump to search
No edit summary |
|||
| Line 40: | Line 40: | ||
scales = 1,1,1,1,1,1,1,1 | scales = 1,1,1,1,1,1,1,1 | ||
units = V,W,W,W,W,W,W,W | units = V,W,W,W,W,W,W,W | ||
[[File:Rpict7v1_screen001.png]] | |||
==Programming== | ==Programming== | ||
In order to program the board an avr programmer with 6pin SPI connector is needed.<br> | In order to program the board an avr programmer with 6pin SPI connector is needed.<br> | ||
In Arduino IDE select board as '''Arduino Nano w/ ATmega328'''. Upload sketch using '''File | Upload Using Programmer'''. | In Arduino IDE select board as '''Arduino Nano w/ ATmega328'''. Upload sketch using '''File | Upload Using Programmer'''. | ||
Revision as of 11:14, 11 March 2016
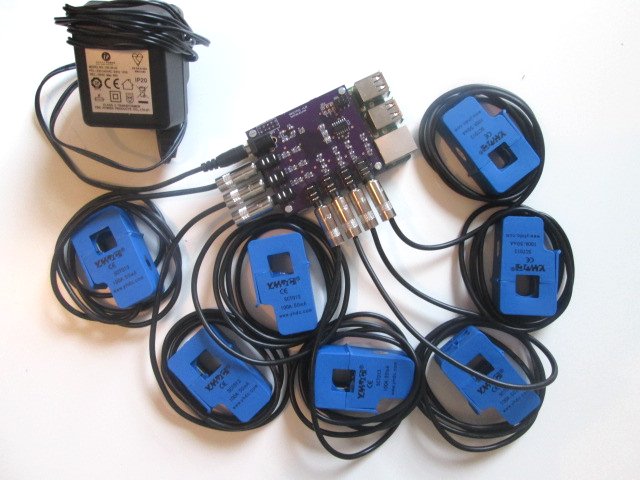
The RPICT7V1 version 2.0
Difference with version 1.0 is the atmega328 MCU instead of the Attiny84. This version is not stackable, this is only planned for later versions.
- 7 AC current sensor
- 1 AC Voltage sensor.
- Compute real power.
- Fit on Raspberrypi 4 holes mounting pattern.
- AtMega328 Mcu
Recommended sensors
- AC Current sensor: SCT-013-000
- AC Voltage sensor:
- UK: 77DB-06-09
- EU: 77DE-06-09
- US: 77DA-10-09
Files
Library needed is the EMonlib from openergymonitor.
Default Sketch V2.0.
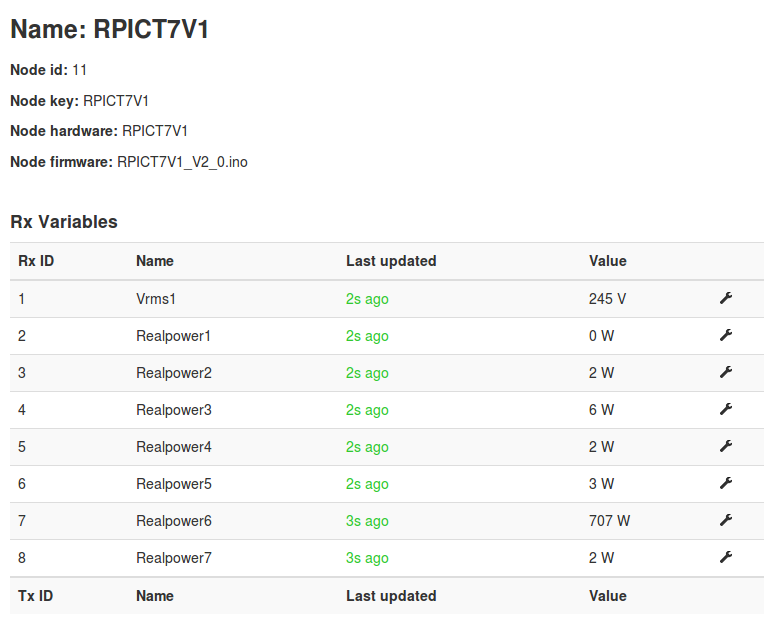
Emoncms Config
 [[11]]
    nodename = RPICT7V1
    firmware = RPICT7V1_V2_0.ino
    hardware = RPICT7V1
    [[[rx]]]
        names = Vrms1,Realpower1, Realpower2, Realpower3, Realpower4, Realpower5, Realpower6, Realpower7
        datacodes = h, h, h, h, h, h, h, h
        scales = 1,1,1,1,1,1,1,1
        units = V,W,W,W,W,W,W,W
Programming
In order to program the board an avr programmer with 6pin SPI connector is needed.
In Arduino IDE select board as Arduino Nano w/ ATmega328. Upload sketch using File | Upload Using Programmer.


