RPICT3V1 RLY2
Jump to navigation
Jump to search

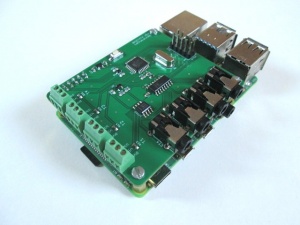
Overview
- 3 AC current input port
- 1 AC Voltage port
- 2 Relays 250V (7A to 10A depending on stock).
Compatibility

| Version | Compatible? |
|---|---|
| Raspberrypi 1 A | No |
| Raspberrypi 1 B | No mounting holes. |
| Raspberrypi 1 B+ | Yes |
| Raspberrypi 2 B | Yes |
| Raspberrypi 3 B | Yes |
| Raspberrypi 3 B+ | Yes |
| Raspberrypi 4 B | Yes |
| Raspberrypi 5 | Yes |
AC and Temperature Reading
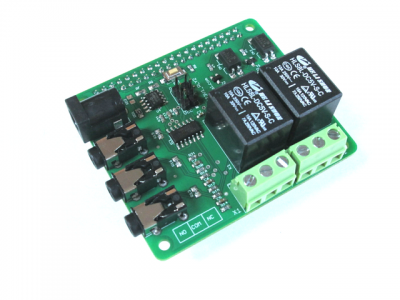
The RPICT3V1_RLY2 is the same unit as the RPICT3V1 with 2 relays added.
Refer to the RPICT3V1 for full documentation covering the AC reading side.
Relay Control
Connection

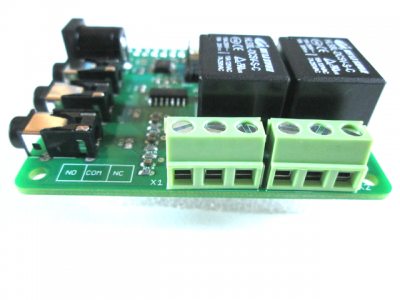
Each relay port is a 3 way screw terminal block with the following connection:
- NO - Normally Open (Left)
- CO - Common (Middle)
- NC - Normally Closed (Right)
Technical specs
Relays are HLS8L-DC5V.
The datasheet is available here.
Control

The 2 relays are connected to GPIO5 and GPIO6 on the raspberrypi.
These can be easily controlled with the RPi.GPIO module from python.
We made a small script to get you started with this. This can be downloaded as follow:
wget lechacal.com/RPICT/tools/lcl-gpio-toggle.py.zip
unzip lcl-gpio-toggle.py.zip
This utility simply toggles the relay state. For example to change the state on the first relay (i.e. gpio5) one will execute
python lcl-gpio-toggle.py 5
The code of the utility is given below.
import RPi.GPIO as GPIO
import sys

pin = int(sys.argv[1])

GPIO.setmode(GPIO.BCM)
GPIO.setwarnings(False)
GPIO.setup(pin, GPIO.OUT)
state = GPIO.input(pin)
if state:
    GPIO.output(pin, GPIO.LOW)
    print "GPIO%d Low" % pin
else:
    GPIO.output(pin, GPIO.HIGH)
    print "GPIO%d High" % pin

